Yet Another Revision to software!
Okay, the usual drill, Ron: replace the appropriate things (the "SpaceOrb" directory under hardware/libraries and the sketches). If you have a particular sketch you want to hold on to, keep it, but otherwise just replace with these.
Changes:
Added precision mode. Here's how to use it--
Look at the "GainDemo" sketch; the relevant lines are
Code: Select all
  translator.set_precision_gain( -2 );
  translator.set_precision_mask( 0x01 );
What precision gain does is when you hold a particular physical button combination down, it switches the gain to whatever you've set for precision_gain. What this means is that if you set the precision gain to -2, the physical axis will be divided by two before it goes to the sensitivity curve.
This is important, because with a sensitivity curve in, you won't just get a mushier response--it'll really limit how far the orb can travel when precision mode is on. This is probably what you want, but use a bit of caution.
The "mask" bit requires some explanation. This is a "bit mask" to specify a combination of buttons. If you want precision mode with button "A" pressed, you want "0x01"; if you want button "B", you would use "0x01 << 1" (that's 1, shifted by 1, or 2). If you want precision mode with buttons A and B pressed together, you'd use "0x01 | (0x01 << 1)"... or "0x03".
I've also made basic demo programs for many of the features, which start with a basic orb and just do one additional thing:
ChordingDemo: Demonstrates chording
GainDemo: Demonstrains gain, sensitivity, and precision mode
KeyboardAxisBindingDemo: Binds axes to buttons. Needs a bit more documentation, but maps the "move" directions to WASD and turn left/right to Q and E.
KeyboardButtonBindingDemo: Binds buttons to keypresses. Button "B" is shift, button "C" is H, button "D" is E, button "E" is L, and button "F" is O, so you can type "Hello" with the orb
MouseBindingDemo: Binds x/y to mouse x/y, button A to mouse0, button B to mouse1. Not sure how useful this feature will be but you never know. If people use it, I bet we'll need to implement some sort of "mouse gain"--it's pretty sensitive.
Also, the documentation has started--that was today's Big Irritation, as it took me literally hours to get a good documentation tool working. I finally settled on Sphinx, the tool that Python uses to make their docs, so check out
http://orbduino.sourceforge.net for the build docs. I need to update it with "how to program" (and all these demos) but I've had a long day and it's time to quit

.
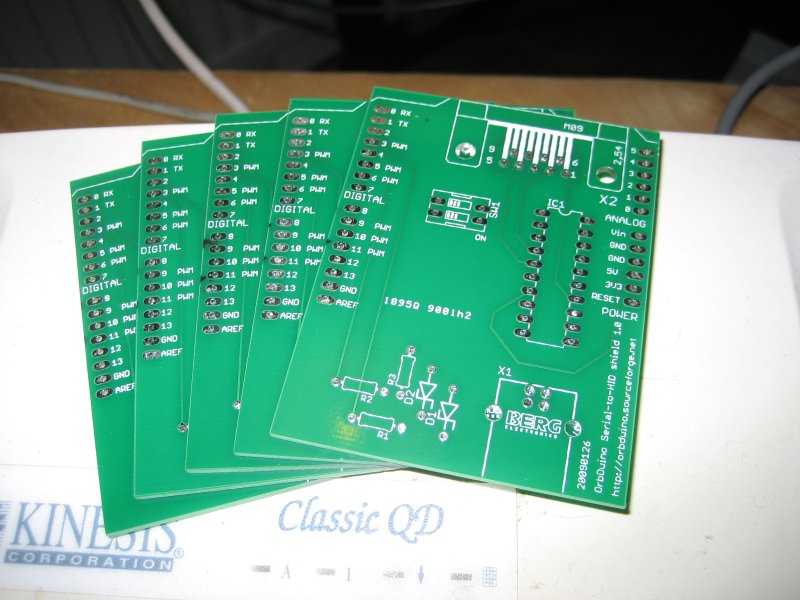
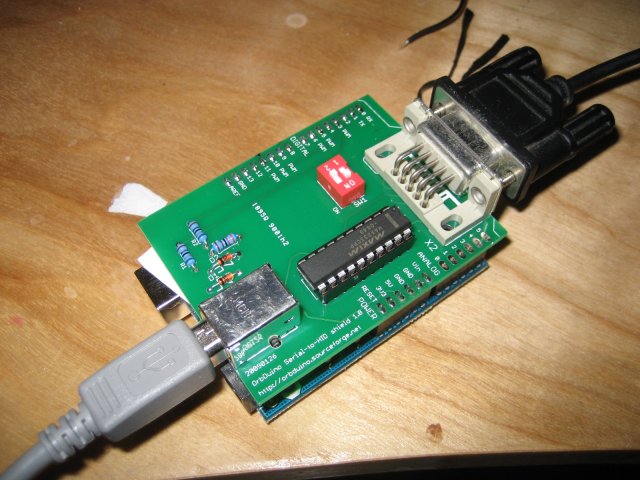
I also have one complete shield and three kits ready to be sent out (or built and sent out). Adding together the parts and conversion, it actually comes to about $23 for the kit plus shipping (not sure how much that is), and I'll solder it together and do a quick test for $5, although that may delay things by a week or so. If folks want a price breakdown I can do that too. Note that you'll also need an Arduino Diecimela or Duemilanove (purchasable from many locations, and other models will work too as long as they say "compatible with Arduino shields"), and that will run you about $30.
So in the end, it's about $50 or so to get the old orb running again. That may be more than what people expected, but at least it works! If anyone wants a shield or kit out of the remaining four I have here, let me know.
Now I'm going to do something completely unrelated for a while!